
Hoverboards are cool when they come out of the box, but some riders want to make their ride unique. Luckily there are plenty of easy DIY ways to customize your ride. Learn how to customize your hoverboard cheaply so it reflects your personality and cool style.
4 Cheap & Easy Ways to Decorate Your Hoverboard
Customize Hoverboards with Stickers

One of the cheapest and easiest ways to customize your hoverboard is by using stickers. Easy to buy at a variety of stores, applying many different stickers to your hoverboard creates a unique look that can reflect your personality. Look for vinyl stickers which are usually waterproof and will stand up better to the wear and tear your hoverboard will experience while riding around.
While it can be fun to collect stickers over time if you want to decorate your hoverboard ASAP, you can buy Vinyl sticker packs cheaply online.
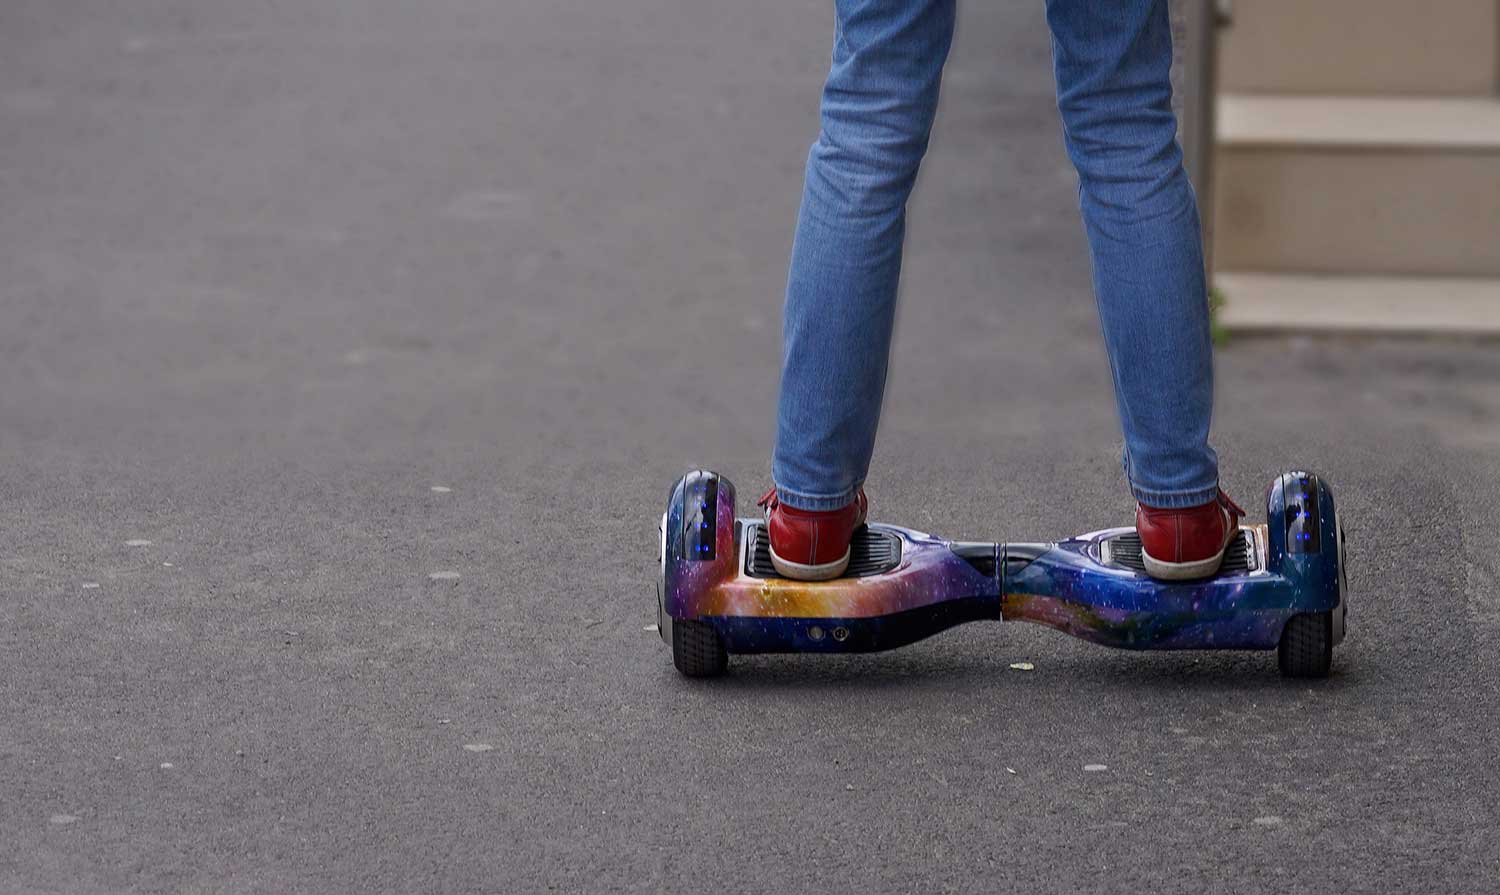
Customize Hoverboards with Skins

If you want a cool look for your basic hoverboard or want to try out a different color, hoverboard skins are an easy way to update your ride. These “skins” are actually vinyl stickers cut to size to fit most standard 6″ wheel hoverboards. They have cool designs and colors and also protect the body of your hoverboard from scratches and dings.
Because the skins are cut and shaped to fit the hoverboard, make sure to double-check they are compatible with your model before you buy.
Protect Hoverboards with a Silicone Case

Easily switch up your hoverboard’s look while protecting it with a silicone case. Just like how you can buy a case for your phone, these snug-fitting silicone covers provide style and protection in one. They fit most standard 6.5″ hoverboards and allow you to easily change your hoverboard’s look as quickly as your mood changes.
DIY Paint Your Hoverboard
If you’re feeling particularly crafty, you can paint your hoverboard to match your style. This is a permanent customization, so you’ll want to take some care to do it right. Spray paint is the easiest way to paint a hoverboard, but you need to prep to keep it neat. If your hoverboard isn’t brand new out of the box, you will need to clean it to remove any dirt, dust, and debris. This is as simple as using a damp cloth or paper towel with some multi-purpose cleaner. Spray the cleaner on the cloth NOT on your hoverboard.
Once your hoverboard is clean, you need to prep for the paint. Buy a nice quality painter’s tape and tape off anything you don’t want to paint. This includes lights, wheels, footpads, buttons, and connection ports.
Before you apply the paint, make sure you’re in a well-ventilated area. Working outdoors or in a garage with the door open is usually best. Lay down a tarp or newspaper to protect the floor. Apply the first coat in broad even strokes and then let the hoverboard dry according to the instructions on the paint can. Once enough time has passed, apply the second coat. While most spray paints only require two layers, you may want to add a third coat as an extra protective layer against bumps and scrapes.
When the paint is fully dry, remove the tape and enjoy your cool new ride.
Check out more accessories for hoverboards.
Explore our Hoverboard Comparison Chart to find the best ride.